本文实例为大家分享了React ts实现二级联动效果的具体代码,供大家参考,具体内容如下
.tsx文件
import { Component, createRef} from 'react'

import './index.less'

interface State {
  top: any
  ButtonList: Button[]
  ContentList: Content[]
  ButtonIndex: number
}
interface Button {
  id: string
  text: string
}
interface Content {
  id: string
  text: string
  height: number
  top: number
}
interface Props {

}

class Stairs extends Component<Props, State>{
  LeftList: Button[]
  RightList: Content[]
  kaiguan: boolean
  right = createRef<HTMLDivElement>()
  left = createRef<HTMLDivElement>()
  LeftTex = createRef<HTMLDivElement>()
  // oTop: number | undefined
  viewHeight: number | undefined
  offHeight: number | undefined
  Lefttext = createRef<HTMLDivElement>()
  top: number | undefined
  oTop: number | undefined
  constructor(props: Props) {
    super(props)
    this.state = {
      ButtonList: [],
      ContentList: [],
      ButtonIndex: 0,
      top: 0
    }
    this.LeftList = []
    this.RightList = []
    this.kaiguan = true
    this.oTop = 0
  }
  componentDidMount() {
    this.BtnList(20)
    this.ConList(20)
    this.setState({
      ButtonList: this.LeftList,
      ContentList: this.RightList
    })
  }
  getRandom(m: number, n: number): number {
    return parseInt(`${Math.random() * (m - n)   n}`);
  }
  BtnList(n: number) {
    for (let i = 0; i < n; i  ) {
      this.LeftList.push({
        id: `a${i}`,
        text: `按钮${i}`,
      });
    }
  }
  ConList(n: number) {
    let ConTop = 0;
    for (let i = 0; i < n; i  ) {
      let RandomHeight = this.getRandom(736, 1400);
      this.RightList.push({
        id: `b${i}`,
        text: `标题${i}`,
        height: RandomHeight,
        top: ConTop,
      });
      ConTop  = RandomHeight;
    }
  }
  FnScroll() {
    // console.log(11)
    if (this.right.current) {
      this.oTop = this.right.current.scrollTop;
      if (this.kaiguan) {
        // console.log(111)
        let count = 0
        for (var i = 0; i < this.state.ContentList.length; i  ) {
          if (this.oTop >= this.state.ContentList[i].top) {
            count = i
          }
          this.setState({
            ButtonIndex: count
          })
        }
        // console.log(ButtonIndex,count)
      }
    }
    // eslint-disable-next-line
    if (this.oTop == this.state.ContentList[this.state.ButtonIndex].top) {
      this.kaiguan = true;
    }
  }
  Fn(index: any, ev: React.MouseEvent<HTMLDivElement>) {
    this.viewHeight = document.documentElement.clientHeight / 2
    let target = ev.target as HTMLDivElement
    this.offHeight = target.offsetTop
    // console.log(this.offHeight)
    if (this.offHeight > this.viewHeight) {
      if (this.LeftTex.current) {
        this.LeftTex.current.scrollTo({
          top: this.offHeight - this.viewHeight - target.clientHeight / 2,
          behavior: "smooth",
        })
      }
      // console.log(this.LeftTex.current)
    }
    // console.log(this.offHeight - this.viewHeight - target.clientHeight / 2)
    this.kaiguan = false;
    // this.offHeight = ev.target.offsetTop
    // console.log(ev.target)
    if (this.right.current) {
      this.right.current.scroll({
        top: this.RightList[index].top,
        behavior: "smooth",
      });
    }
    this.setState({
      ButtonIndex: index
    })
  }
  ButtonIndex(index: number) {
    if (index >= 3) {
      if (this.left.current && this.Lefttext.current) {
        this.left.current.scrollTop = (index - 3) * this.Lefttext.current.offsetHeight;
      }
    }
    if (index < 3) {
      if (this.left.current) {
        this.left.current.scrollTop = 0;
      }
    }
    this.setState({
      ButtonIndex: index
    })
  }

  render() {
    let footList = this.state.ButtonList
    return (
      <div>
        <div className="about">
          <div className="scroll">
            <div className="box1" ref="box1"></div>
            <div className="box2" ref="box2"></div>
            <div className="scroll-con" ref="scroll-con">
              <div className="left"  ref={this.LeftTex}>
                <div className="left-con">
                  {footList.map((item, index) =>
                    <div onClick={this.Fn.bind(this, index)} ref={this.Lefttext} className={this.state.ButtonIndex === index ? "ac left-txt" : "left-txt"} key={item.id} >
                      {item.text}
                    </div>
                  )}
                </div>
              </div>
              <div className="right" ref={this.right} onScroll={this.FnScroll.bind(this)}>
                <div className="right-con">
                  <div
                    className="right-txt"
                    ref="right-txt">
                    {this.state.ContentList.map((item) =>
                      <div style={{ height: item.height }} className="right-title" key={item.id}>{item.text} </div>
                    )}
                  </div>
                </div>
              </div>
            </div>
          </div>
        </div>
      </div>

    )

  }

}

export default Stairs
.less文件
.scroll {
  width: 100vw;
  height: 100vh;
  overflow-y: scroll;

  .box1 {
    height: 300px;
    background: #000;
    width: 100%;
  }
  .box2 {
    height: 200px;
    background: tomato;
    width: 100%;
  }
  .box3 {
    position: -webkit-sticky;
    position: sticky;
    top: 0;
    height: 100px;
    background: palevioletred;
    z-index: 999;
    width: 100%;
  }
  .scroll-con {
    width: 100vw;
    height: 100vh;
    position: -webkit-sticky;
    position: sticky;
    top: 100px;
    display: flex;
    .left,
    .right {
      height: 100vh;
      overflow-y: scroll;
    }
    .left {
      width: 20vw;
      .left-txt {
        width: 20vw;
        height: 100px;
        text-align: center;
        line-height: 100px;
        background: red;
      }
      .left-txt.ac {
        background: lightcoral;
        z-index: 999;
      }
    }
    .right {
      width: 80vw;


      .right-title {
        width: 100%;
        height: 5vh;
        background: darkblue;
        color: aqua;
        line-height: 5vh;
      }
    }
  }
}
最后把自己定义的文件夹添加到路由里即可
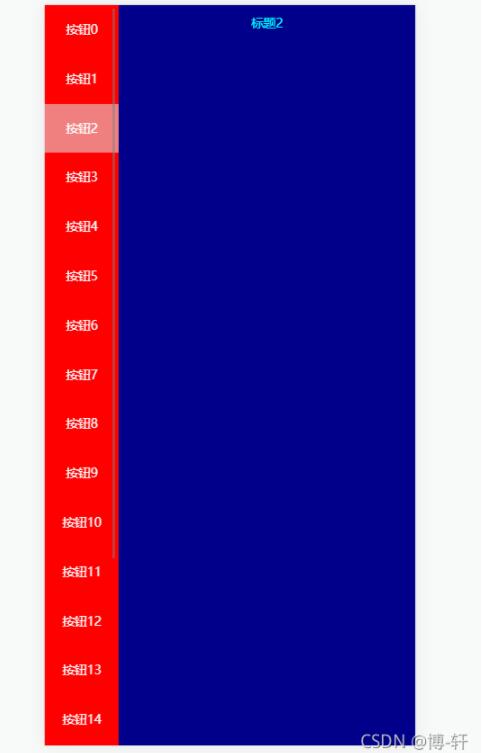
效果图如下
以上就是本文的全部内容,希望对大家的学习有所帮助,也希望大家多多支持Devmax。