引言
从0开始,写一个登录滑动解锁的功能。
首先,新创建一个 vue 项目。 或者在已有的项目写也可以。 将无用的代码删一下。
下载需要用到的组件库
1、下载 element-ui。
yarn add element-ui -S or npm i element-ui -S
2、 在main.js 中引入。
    import Vue from 'vue'
    import App from './App.vue'
    import router from './router'
    import store from './store'
   import ElementUI from 'element-ui'
   import 'element-ui/lib/theme-chalk/index.css'
    Vue.config.productionTip = false
   Vue.use(ElementUI)
    new Vue({
      router,
      store,
     el: '#app',
      render: h => h(App)
    }).$mount('#app')
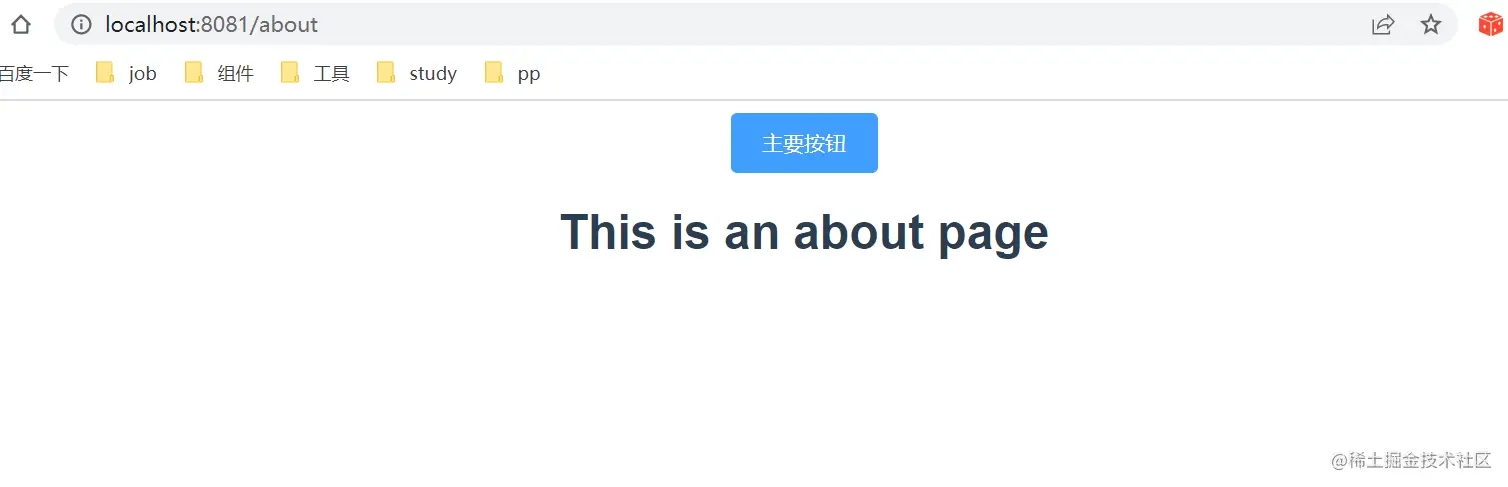
3、测试是否下载成功。
<template>
  <div class="about">
      <el-button type="primary">主要按钮</el-button>
    <h1>This is an about page</h1>
  </div>
</template>
书写登录页面
页面可以正常展示按钮,说明下载成功。可以开始写代码了。
写一个简单的登录页面。
Login.vue
template 结构:
<template>
  <div class="login-container">
    <div class="login-header">
      <h1>xxx系统</h1>
    </div>
   <div class="login-body">
      <div class="login-form-container">
        <el-form
          ref="loginFormRef"
          class="form-style"
          :label-position="`right`"
          :model="loginFormData"
          status-icon
        >
          <el-form-item
            name="username"
            prop="username"
            >
            <el-input
              v-model="loginFormData.username"
              placeholder="请输入用户名"
              prefix-icon="el-icon-user"
              clearable
            />
          </el-form-item>
          <el-form-item
            class="el-item-style"
            name="password"
            prop="password"
          >
            <!-- 密码框 -->
            <el-input
              prefix-icon="el-icon-lock"
              v-model="loginFormData.password"
              :type="`${hasOpenEye? 'text':'password'}`"
              placeholder="请输入密码">
              <i
                slot="suffix"
                :class="[hasOpenEye ? 'el-icon-unlock' : 'el-icon-lock']"
                style="font-size: 14px; cursor: pointer"
                @click="hasOpenEye = !hasOpenEye"/>
            </el-input>
          </el-form-item>
          <el-form-item class="el-item-style">
            <el-button
              :loading="false"
              style="
                width: 100%;
                height: 46px;
                line-height: 15px;
                font-size: 23px;
              "
              type="primary"
              @click="login"
            >登录</el-button>
          </el-form-item>
        </el-form>
      </div>
    </div>
  </div>
</template>
script 逻辑:
<script>
export default {
  // 登录表单数据
  data () {
  return {
    loginFormData: {
      username: "123232",
      password: "21232"
    },
    hasOpenEye : false, // 是否显示密码
  }
  },
  components: {},
  methods: {
    login () {},
  },
}
</script>
style 样式:
<style lang="less" scoped>
.login-container {
  position: relative;
  height: 100%;
  width: 100%;
  display: flex;
  user-select: none;
  flex-direction: column;
  .login-header {
    display: flex;
    align-items: center;
    padding-left: 50px;
    cursor: pointer;
  }
  .login-footer {
    display: flex;
    justify-content: center;
    align-items: center;
    color: #322b34;
    font-size: 12px;
  }
  .login-header,
  .login-footer {
    height: 10%;
  }
  .login-body {
    background-position: center center;
    background-repeat: no-repeat;
    background-size: 100% auto;
    flex: 1 1;
    display: flex;
    justify-content: center;
    align-items: center;
    cursor: pointer;
    user-select: none;
    .login-form-container {
      width: 30%;
      border: 1px solid mix(pink, #000, 80);
      box-shadow: 0 0.5em 1em rgba(0, 0, 0, 0.3);
      background: linear-gradient(
        to bottom,
        rgba(255, 255, 255, 0.3),
        rgba(0, 0, 0, 0.3)
      );
      padding: 20px 30px;
      border-radius: 5px;
    }
  }
}
</style>
登录页面效果展示:

写滑动解锁组件
1、下载安装包:
vue-monoplasty-slide-verify
2、导入到 main.js 中
import SlideVerify from 'vue-monoplasty-slide-verify';
Vue.use(SlideVerify);
3、新建一个文件component / verify.vue
template 模板:
<template>
  <div>
    <!-- title="滑块验证码" -->
    <el-dialog
      :visible.sync="dialogVisible"
      :before-close="dialogBeforeClose"
      :close-on-click-modal="false"
    >
      <div class="flex">
        <slide-verify
          ref="slideblock"
          :w="fullWidth"
          :h="fullHeight"
          :accuracy="accuracy"
          :slider-text="text"
          :imgs="imgList"
          @again="onAgain"
          @fulfilled="onFulfilled"
          @success="onSuccess"
          @fail="onFail"
          @refresh="onRefresh"
        />
      </div>
    </el-dialog>
  </div>
</template>
script 代码:
<script>
export default {
  name: 'verify',
  data() {
    return {
      dialogVisible: false,
      fullWidth: 450,
      fullHeight: 304,
      msg: '',
      text: '请向右滑动滑块完成验证',
      // 精确度小,可允许的误差范围小;为1时,则表示滑块要与凹槽完全重叠,才能验证成功。默认值为5
      accuracy: 3,
      imgList: [
      // 图片的路径:
        require('../assets/3.jpg')
      ]
    }
  },
  mounted() {},
  methods: {
    dialogBeforeClose() {
      this.dialogVisible = false
    },
    onSuccess() {
      console.log('验证通过')
      this.msg = 'login success'
      this.dialogVisible = false
      this.$emit('verifySuccess')
       this.$message.success("验证成功")
       this.$router.push('/a')
    },
    onFail() {
      console.log('验证不通过')
      this.msg = '验证不通过'
        this.$message.error('验证失败')
    },
    onRefresh() {
      console.log('点击了刷新小图标')
      this.msg = ''
    },
    onFulfilled() {
      console.log('刷新成功啦!')
    },
    onAgain() {
      console.log('检测到非人为操作的哦!')
      this.msg = 'try again'
      // 刷新
      this.$refs.slideblock.reset()
    },
    handleClick() {
      // 父组件直接可以调用刷新方法
      this.$refs.slideblock.reset()
      console.log(23333);
    }
  }
}
</script>
style 样式:
<style lang="less" scoped>
.flex{
  display: flex;
  align-items: center;
  justify-content: center;
}
/deep/ .el-dialog {
  width: 500px;
  border-radius: 16px;
  margin: auto;
}
/deep/ .el-dialog__header {
  display: none;
}
/deep/ .slide-verify-slider {
  border-radius: 33px;
}
/deep/ .slide-verify-slider-mask {
  border-radius: 33px 0 0 33px;
}
</style>
将滑动组件运用到我们的 Login 组件中:
import verify from "../components/verify.vue";
export default {
 components: {
    verify
  },
}
<template>
   <el-form>
   ......
   </el-form>
  <verify ref="verify"></verify>
</template>
补充逻辑代码
login () {
      this.$refs.verify.dialogVisible = true
  },
最终效果:
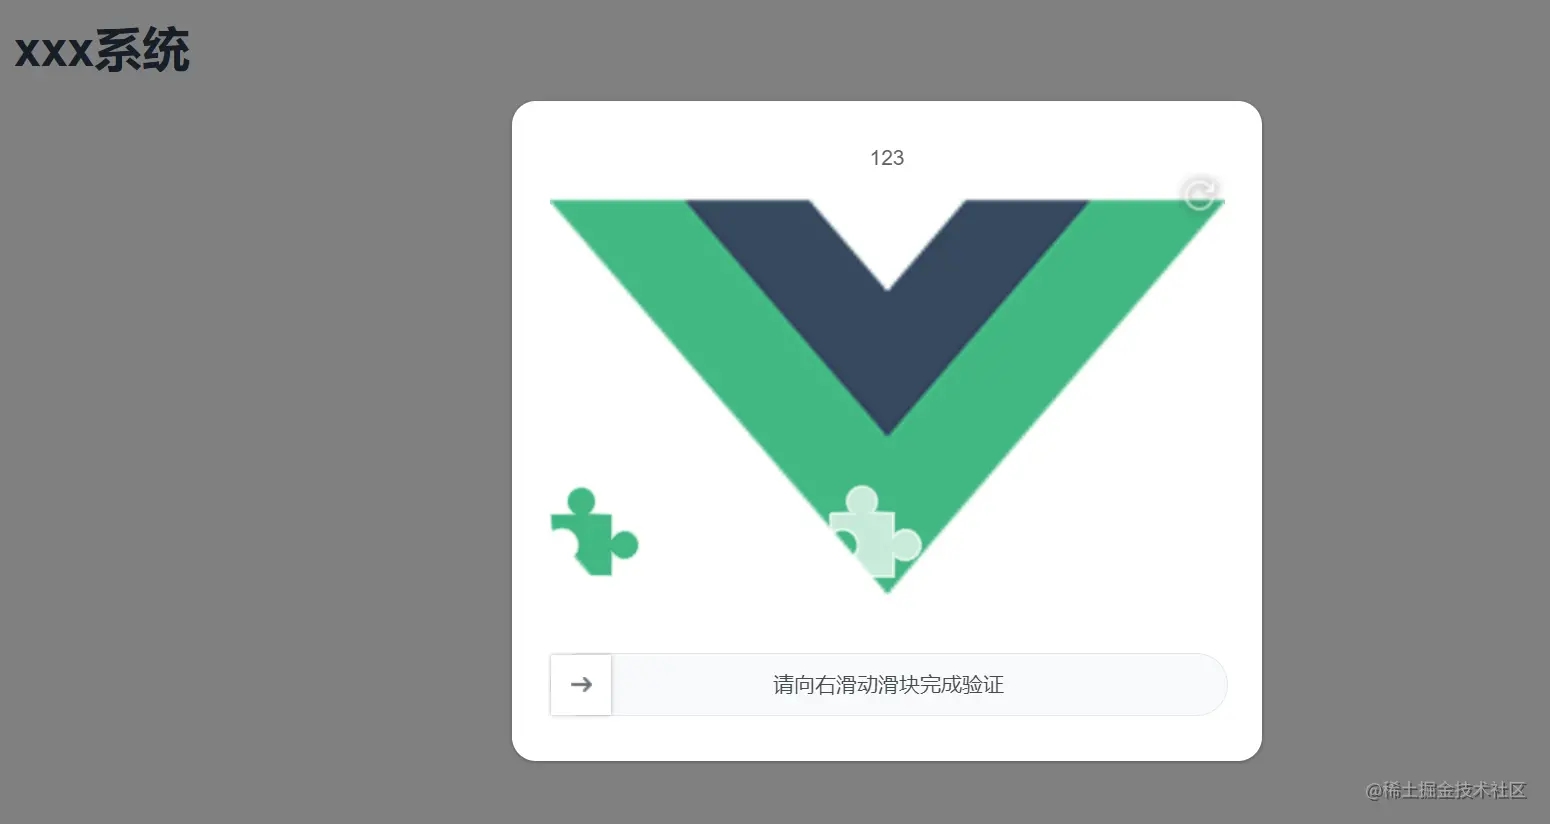
完成。
以上就是vue 实现滑动块解锁示例详解的详细内容,更多关于vue 滑动块解锁的资料请关注Devmax其它相关文章!